How to create and use a ssh key pair
fr:Comment créer et utiliser une paire de clés ssh
en:How to create and use a ssh key pair
es:Cómo crear y utilizar un par de ssh claves
pt:Como criar e usar um par de chave ssh
it:Come creare e utilizzare una coppia di chiavi ssh
nl:Hoe maak en gebruik een ssh van sleutelpaar
de:Gewusst wie: erstellen und verwenden ein ssh-Schlüsselpaar
zh:如何创建和使用 ssh 密钥对
ar:كيفية إنشاء واستخدام سة مفتاح الزوج
ja:作成して使用する方法、ssh 鍵のペア
pl:Jak utworzyć i używać pary kluczy ssh
ru:Как создать и использовать пары ключей ssh
ro:Cum de a crea şi de a folosi un ssh-cheie pereche
he:כיצד ליצור ולהשתמש ssh מפתח זוג
This article has been created by an automatic translation software. You can view the article source here.
We click on the button 'Create a SSH again' to the right of the search field :
In the window that opens, fill in the name of the key that you want and you can enter your key public ssh :
If you do not specify public key, then Cloudstack provides you with an SSH private key that will be used to connect to your instances :
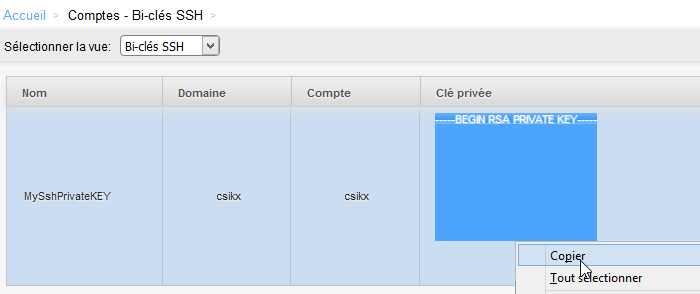
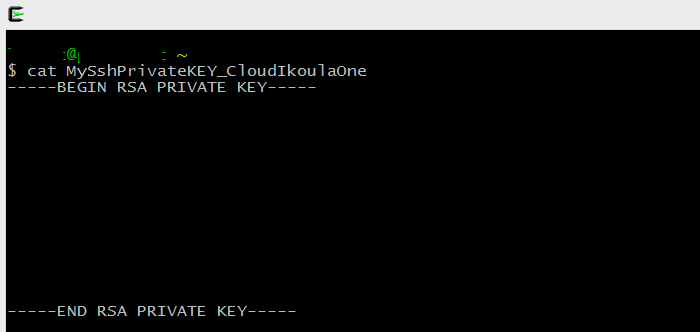
To use this, copy/paste your private key in a file on your workstation/Server from which you will connect to your instance (the private key will then be displayed in the interface) :
You should restrict permissions to your private key file :
$ chmod 400 MySshPrivateKEY_CloudIkoulaOne
When deploying your instance, choose the stable model "CoreOS. (the connection by SSH key works with all GNU models/Linux) :
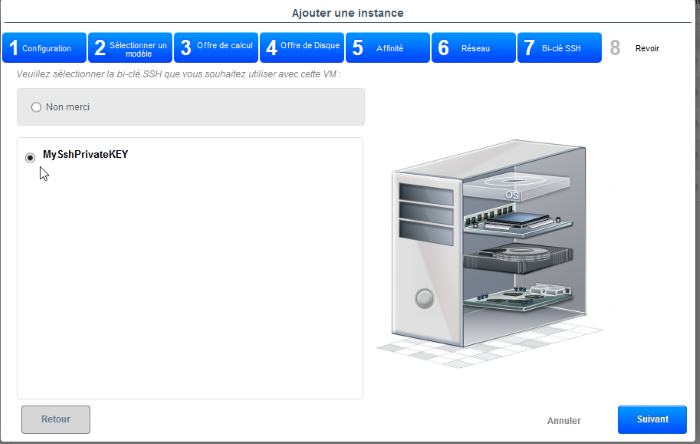
Then check your SSH key (created above) to step 7 "Certifying SSH' to be able to connect to your instance with the :
Once deployed, you can connect to your instance in ssh via your key (We use here the user core own CoreOS and non-root as on other systems) :
|
|
You can also use a client like putty ssh.
However format the key in putty format.
Will be used "puttygen loader" (provides with putty).
Run it and click "Load" then open the file in which you have saved your private key.
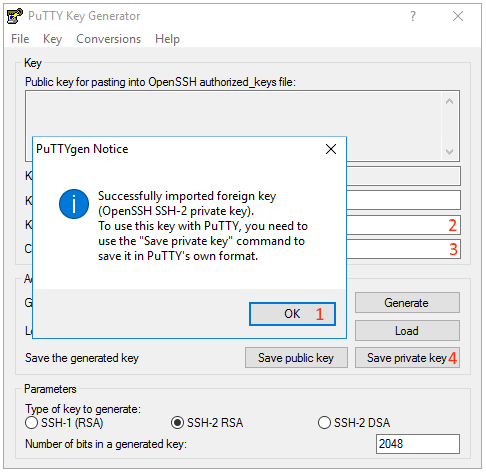
Then click "OK" (1) then enter a passphrase in the passphrase fields (2 and 3) Finally save the key (4) "Save private key".
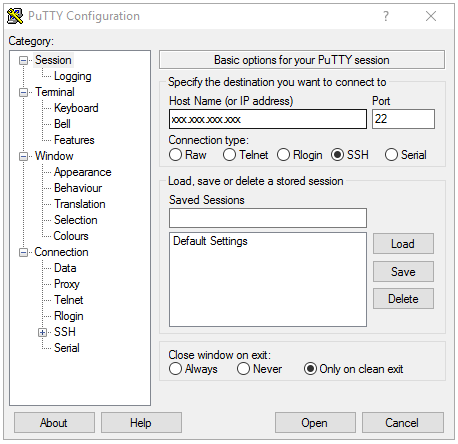
Launch Putty and enter the ip of your VM in the Host Name box
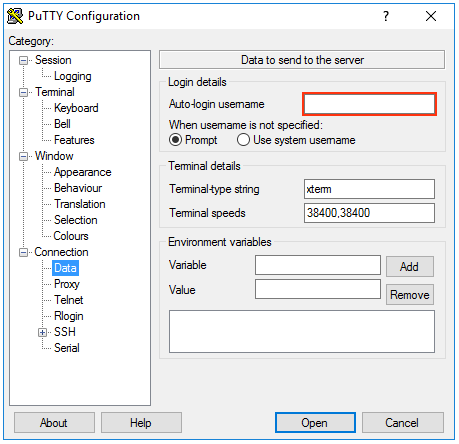
Then go to Connection-Data and specify "core" in the field "Auto-login username.
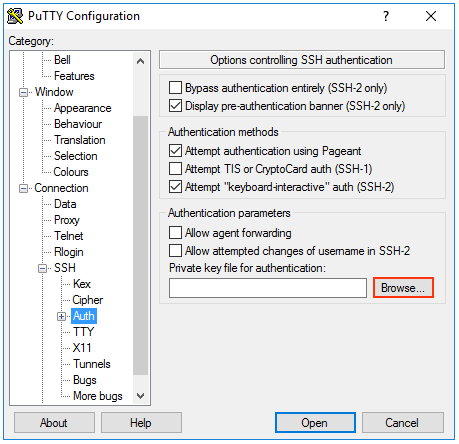
Finally go to Connection-SSH-Auth and click "Browse" then select your private key file
Click open to start the connection.




Enable comment auto-refresher